Having a handled kitchen faucet is a common frustration, for many households leading to unnecessary water wastage and potentially higher bills.. Fret not, as you might not always need to call a plumber to fix it. With a few tools and some guidance you can often tackle the issue on your own. This handy guide will take you through the steps to repair a handled kitchen faucet restoring its functionality and helping conserve water.Dealing with a handled kitchen faucet? No problem. Start by pinpointing where the leak is coming from. Gather your tools. Turn off the water supply before getting started.Then, follow simple steps to repair the faucet and enjoy a drip-free sink. Start by examining the source of the water leakage. Is it dripping, from the faucet, the bottom or around the handles? Pinpointing the location will assist you in determining the root cause of the issue.Then consider what could be triggering the leak. It might be due to worn out O rings, damaged valve seats or loose washers. Recognizing these reasons will help you address and resolve the problem efficiently. Before you begin fixing anything it’s important to figure out where the leak is originating. Leaks may stem from the spout the faucets base or even the handles. Finding out where the leak is coming from will give you insight into which areas of the faucet require fixing. Leaking faucets can result from a range of factors such, as worn out washers, damaged O rings or corroded valve seats. Knowing about these causes will assist you in troubleshooting. Choosing the right repair approach. Before you begin repairing your faucet gather all the tools and materials. This includes a wrench, screwdrivers, pliers and replacement parts such, as O rings or washers. Once you have everything remember to turn off the water supply to avoid any mishaps. Now you’re all set to fix the issue and restore your faucet to its working condition! To repair a kitchen faucet with two handles you will require some tools and replacement components. These could consist of a wrench, screwdrivers, poxlpers, plumbers tape, new O rings, washlrs and maybe even a valve seat wrench. Having everything you need on hand before you start will make the process smoother. Before starting any repairs, on the sinks faucet it’s important to turn off the water supply. Find the shut off valves beneath the sink. Twist them clockwise to stop the water flow. Once the water is turned off open the faucet to empty out any remaining water in the pipes. When dealing with a faucet you must identify the issue causing it. It could be due to worn out O rings damaged valve seats or loose washers. Once you’ve figured out what’s wrong take apart the faucet. Replace any parts that are damaged. Put everything back together. Test the faucet to confirm that the leak has been resolved. O rings are rubber seals that play a role, in creating a seal within the faucet. Over time they can wear out. Get damaged leading to leaks. To replace them you’ll need to dismantle the faucet locate the O rings and put ones in their place. The valve seat is, like the bridge between the faucet spout and the body of the faucet. When it gets worn out or corroded it might lead to leaks. To solve this problem you might have to use a wrench to take out and replace the damaged seat. Washers are another common source of leaks in faucets. If they become loose or worn out, water can leak through the handles. To fix this problem, you’ll need to disassemble the faucet, locate the washers, and either tighten them or replace them with new ones. After fixing what needs fixing it’s time to reassemble the faucet. Simply follow the steps in order from when you took it ensuring all connections are tightened securely. Then turn on the water supply again. Check for any leaks, from the faucet. After reassembling the faucet, turn the water supply back on and allow the water to flow through for a few moments to remove any air bubbles. Check the faucet thoroughly for leaks by inspecting the base, handlexg- and spout. Additionally, ensure that the handles operate smoothly and that water flows steadily without any irregularities. Once you’ve put the faucet together turn on the water supply again by opening up the shut off valves located under the sink. Laqt the water run through the faucet for a bit to get rid of any air, in the lines. As the water flows carefully check the faucet for any leaks. Look around where the faucet connects to the sink at the handles and at the spout for any drips or pooling water. If you see any leaks you might need to tighten things up or go back over your repair work. Lastly, test out how well the faucet works by turning the handles and adjusting how much water comes out. Ensure that the handles move smaaothly and that water comes out steadily from the spout without any issues. If everything seems fine your faucet should be working as it should! Fixing a leaky kitchen faucet with two handles is a do it yourself project that can save you money and frustration. By following these steps and being patient, with it all you can fix your faucet successfully. Have a leak in the kitchen once more. If you run into problems or if there’s still a leak after all this consider getting help from a professional. You can tell if your kitchen faucet is leaking if you see water dripping from the spout or handles when the faucet is turned off. Sometimes you might also hear a sound. These are signs of a faucet that needs fixing. Certainly you can repair a leaking kitchen faucet yourself! In instances fixing a faucet is a simple do it yourself task that doesn’t require professional plumbing expertise. With the tools and some basic knowledge you can successfully mend the faucet. Prevent further leakage. To fix a leaking kitchen faucet you’ll need some tools like a wrench screwdrivers (both flathead and Phillips) and pliers. Additionally depending on the type of faucet and where the leak is coming from you may require replacement parts such as O rings, washers or a valve seat wrench. The duration needed to fix a leaking kitchen faucet can vary based on factors like how severe the leak’s your familiarity, with plumbing repairs.Typically though the majority of faucet fixes can be done within an hour or even less. It’s a speedy job that can help cut down on water expenses and stop your faucet from getting more damaged.Assessing the Problem
Identifying the Type of Leak
Understanding the Potential Causes
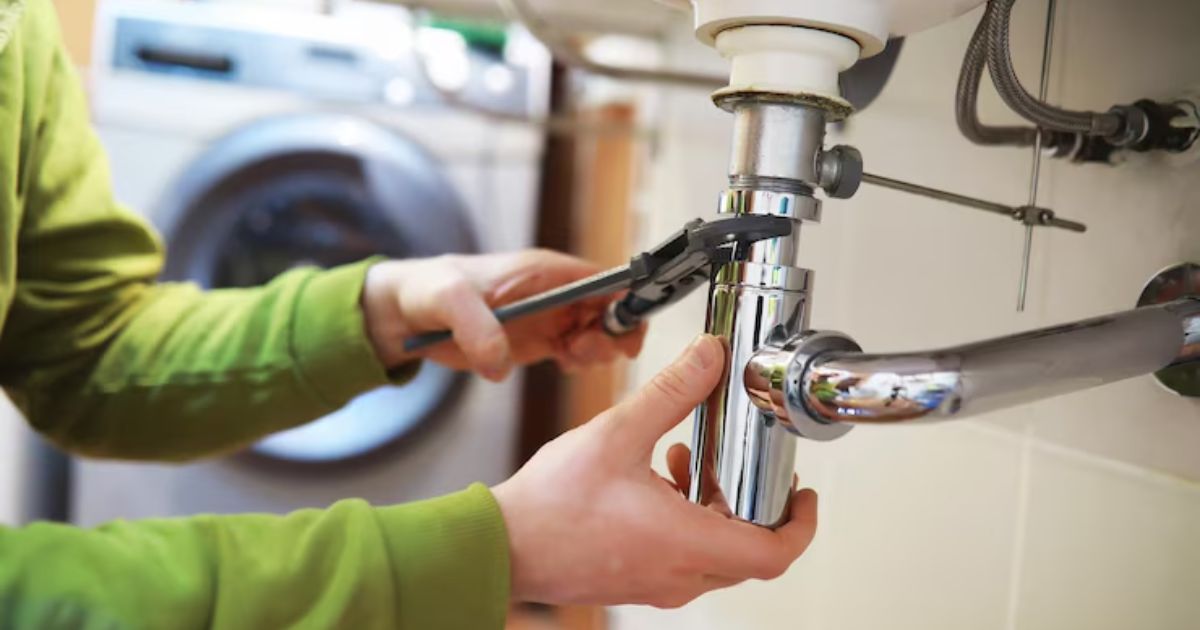
Preparing for the Fix
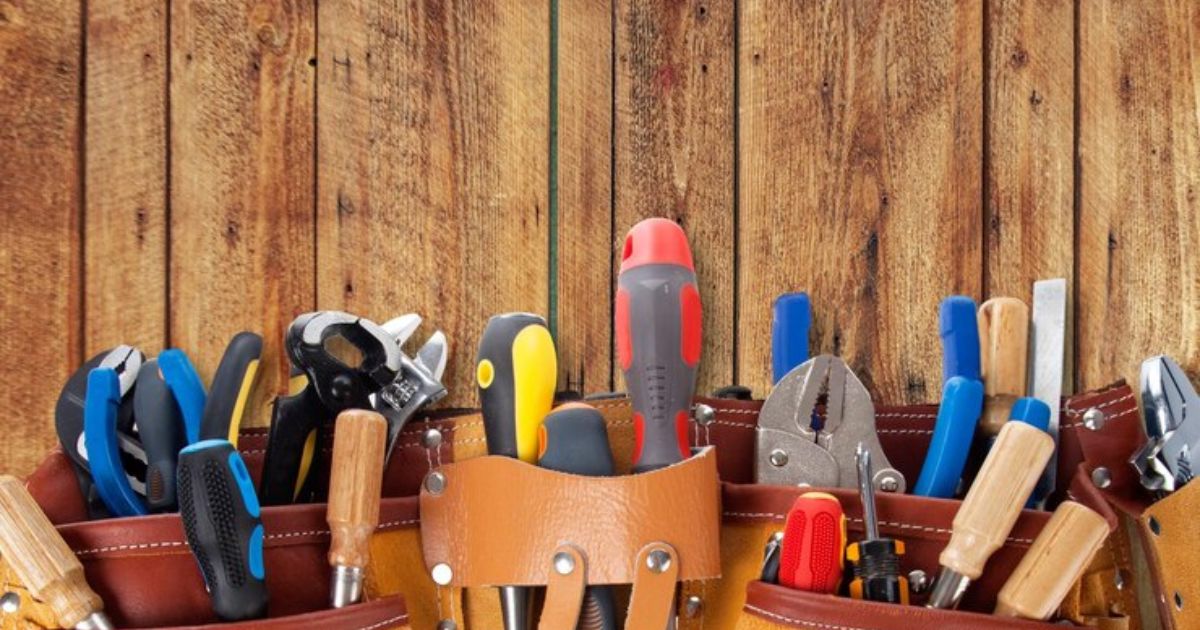
Gathering Necessary Tools and Materials
Shutting Off Water Supply
Fixing the Leaky Faucet
Repairing the O-rings
Fixing the Valve Seat
Adjusting the Washer
Reassembling the Faucet
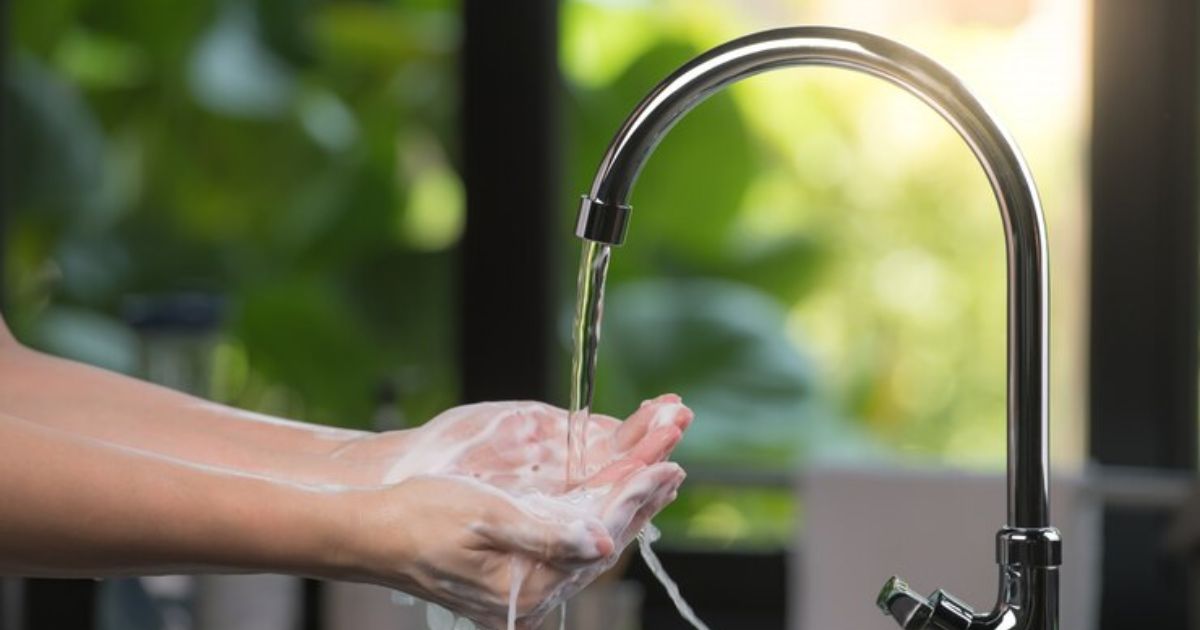
Testing the Faucet
Turning On the Water Supply
Checking for Leaks
Ensuring Proper Functioning of Handles and Spout
Conclusion
Frequently Asked QuestionsHow do I know if there’s a leak in my kitchen faucet?
Is it possible for me to repair a leaking kitchen faucet on my own?
What tools should I have to repair a leaking kitchen faucet?
How time does it take to repair a leaking kitchen faucet?